We tailor our services to fit your business model!
- Custom
- Safe
- Efficient
We tailor our services to fit your business model!

Accept Visa, Mastercard, American Express, Discover, chip cards cash, checks, ACH and other forms of payments.
Payments are collected on a schedule and reminders are automatically sent when payments are missed. Customers have the option to set recurring payments or installments.
Seamlessly integrate a payment portal into your website to accept secure payments from your online customers.
ZT Payments streamlines the collections process for billers with faster and more convenient ways to bill and receive money.
Quicker and easier access to processing revenue by reducing the funding timeframe to hours.
Accept chip cards, capture electronic signatures, and email receipts. We support IOS, Android and Windows.
Use a payment link to sell online without the need for a website. ZT Payments will create for you a full payment page in just a few clicks. Share the link with your customers to make their payment experience fast and seamless.
With ZT Payments you can integrate physical or virtual check readers, to electronically deposit checks into your bank account for simplified payments.
Reliable, durable and use-friendly card processing peripherals.
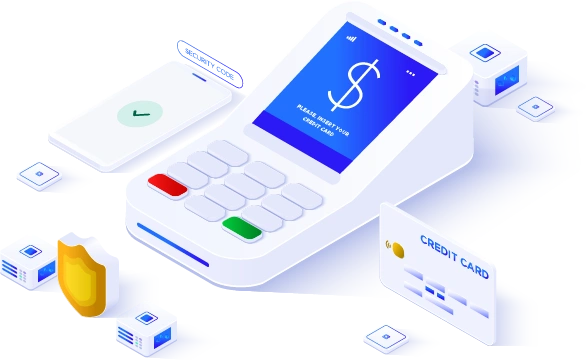
All-in-one compact devices are able to manage all payment schemes.
ZT Payments offers a large selection of secure wireless payment solutions.
Securely integrate a payment portal into your website.
Many POS environment and industry-specific terminal support.

We work with your credit card statements and tailor our services to lower your processing fees.
Every merchant is treated as a separate account and underwritten individually. The results are negotiable fees and remarkable savings, based on the merit of the business.
Our team will guide you through the entire process. Our Merchant Processing Agreement is simple, legible, and straightforward. You don‘t have to fear the fine print or hidden fees anymore.
Transform the way you process credit cards with our innovative solutions.